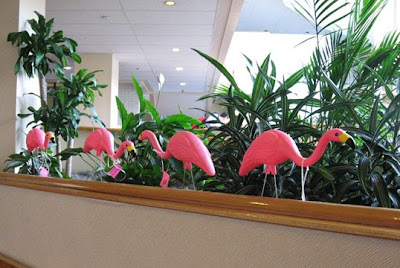
Open a photo in Photoshop and size it: image>size.
I set this to 5 inches high and kept the proportion so the width was 7.478.I set the resolution to 180.
**************************************************
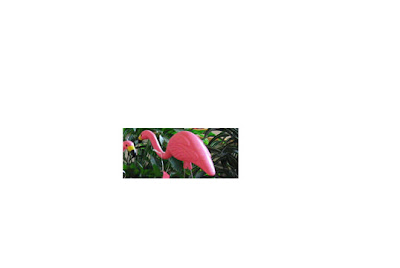
Select a rectangular portion of the photo to work with. You can do this either by cropping or
using the rectangular marquee tool. If using the rectangular marquee tool, outline the area, select inverse then delete.
****************************************************************
 Unlock the background layer. Use the magic wand to delete the background.
This becomes Layer 0.
****************************************************

Place the cut out on a new canvas: file>new.
I made the new canvas 8" x 8" to give me room to move things around.
Use the move tool to move the image to the new canvas.
********************************************************************
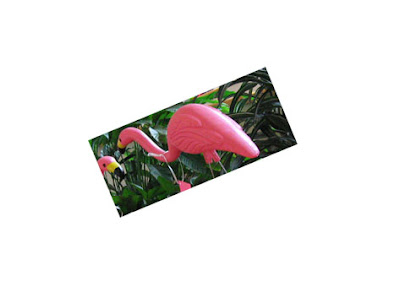
Rotate the canvas 22.5 degrees counter clockwise:
Image>rotate canvas>arbitrary> type in 22.5 degrees.
*******************************************************************
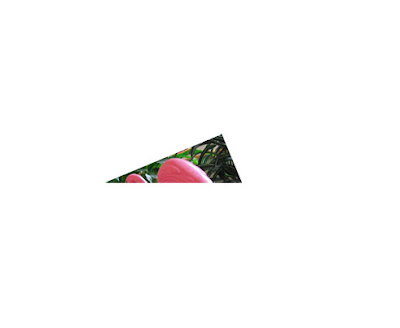
Select and delete the bottom half of the rectangle.
You can do this by using the rectangular marquee tool to select and then delete.
Or you can use the crop tool to crop.
If you're not happy with the top, you could undo the rotate, and do some cutting here or there,
or go back to photo and choose a different area. It's hard to picture how it will come out.
I wasn't sure I would like this one, but kept going, and was pleased with the results.
********************************************************************
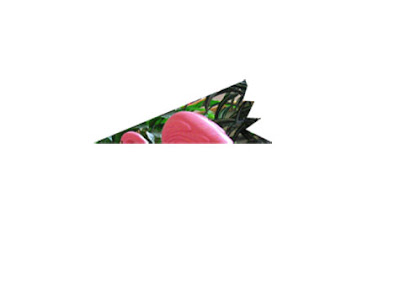
Here you can cut out the edge or leave it straight.
I used the lasso tool to cut a design. You could also use the eraser.
***********************************************************************
I used the lasso tool to cut a design. You could also use the eraser.
***********************************************************************
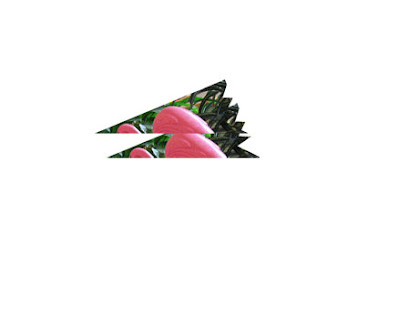
Duplicate the first layer: layer>duplicate. The duplicate will become Layer 1 Copy 1.
***********************************************************************
***********************************************************************
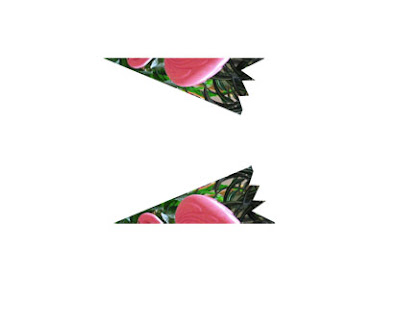
Flip the duplicate vertically.
You need to go to edit to flip the layer/s.
Edit>transform>flip vertical.
Line up using the move tool to make a unit.
***********************************************************
You need to go to edit to flip the layer/s.
Edit>transform>flip vertical.
Line up using the move tool to make a unit.
***********************************************************
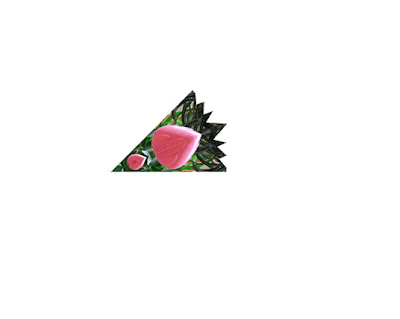
Rotate the canvas 22.5 degrees counter clockwise.
***************************************
***************************************

Lock Layer 1 and Layer 1 copy together.
Click on Layer 1, hold shift key and click on Layer 1 Copy 1,
click on chain link to lock together.
*******************************************************
Click on Layer 1, hold shift key and click on Layer 1 Copy 1,
click on chain link to lock together.
*******************************************************
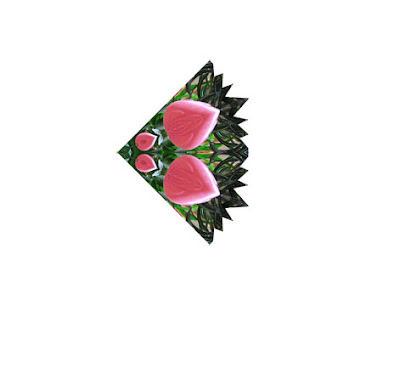
Duplicate layers: layers>duplicate.
Flip vertically: Edit>flip vertical.
Line up.
Rotate canvas 22.5 degrees clockwise twice:
Image>rotate>arbitrary>22.5 clockwise.
*****************************************************************************
Flip vertically: Edit>flip vertical.
Line up.
Rotate canvas 22.5 degrees clockwise twice:
Image>rotate>arbitrary>22.5 clockwise.
*****************************************************************************
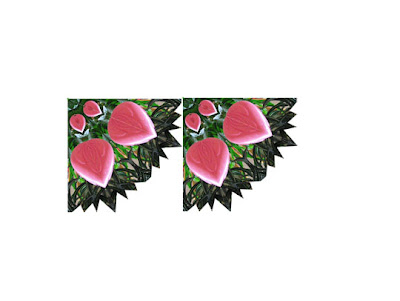
Lock Layer1, Layer 1 Copy1, Layer 1 Copy 2, Layer 1 Copy 3 (4 layers) together.
Duplicate.
******************************************************************
Duplicate.
******************************************************************
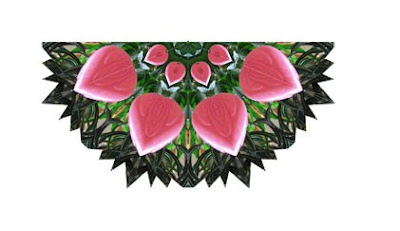
Flip horizontal, edit>transform, flip horizontal.
Line up.
***************************************************************************
Line up.
***************************************************************************
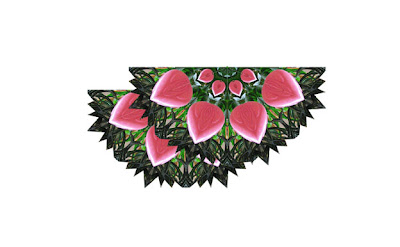
Connect all layers, Layer 1 - Layer 1 Copy 7.
Duplicate.
Flip vertical.
Line up.
*******************************************************************************
Duplicate.
Flip vertical.
Line up.
*******************************************************************************
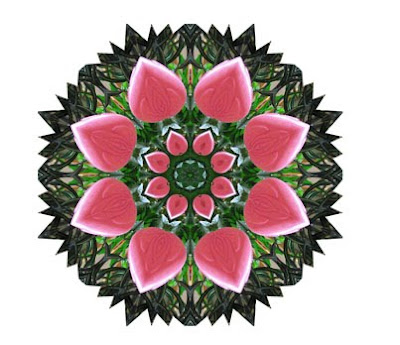
Almost done.
Save the file, and save a copy: save as and rename.
I will add a number to the file, Flamingo Kaleidoscope 1 or a.
I will keep the original file as is and flatten the image on the copy.
To do this you go to the layers palette and click to far right of the work layers.
This will bring up a window that will give you the option to flatten your image.
After flattening, I crop the image to reduce the amount of background
and reduce the canvas size.
I then change the image size to about 5" high, keeping the proportion, and change the
resolution to 72 so I can post to the internet. As I work the file is usually in psd so I also
change it to jpeg for posting.
You can also google kaleidoscope tutorials for photoshop and find other methods.
My sister taught me this method. She thought it was easier/better than what I had been doing.
And she does a lot more of than I do.
Have Fun!
********************************************************************
